28 Nov From Raw to Rolling – A Step-By-Step Process of Creating a Custom Poultry Roller
In our previous blog, we discussed some of the key benefits custom poultry rollers can bring to poultry plants, with higher yields and monetary savings being two of the most prominent. But why, and how, do custom rollers get so much better efficiency?
The secret is in the design.
In this blog, we’ll take a look at the journey a roller takes to get from raw material to finished package, and how the specific steps that custom roller manufacturers take help them provide poultry plant managers with better, more effective rollers than the factory originals.
The Roller Creation Process
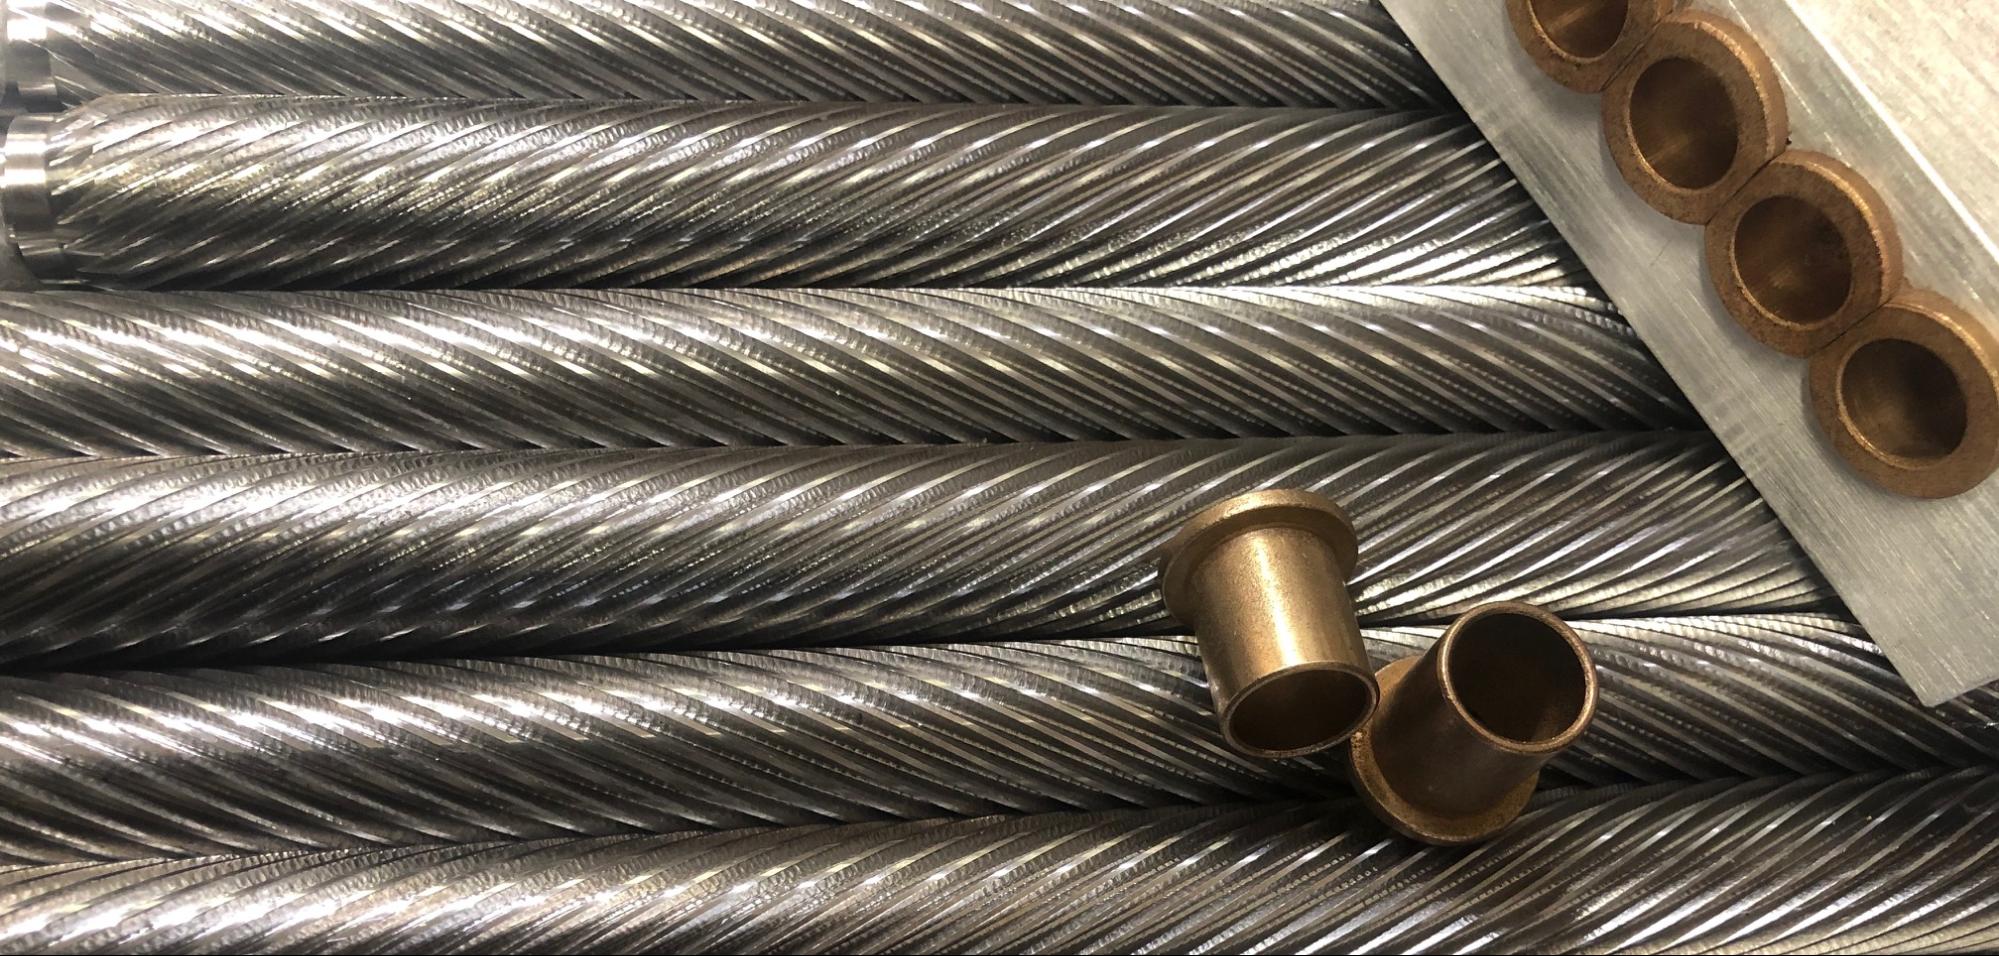
A typical custom poultry peeling roller usually takes about two weeks to create and ship. Each new roller is created following a number of specific steps necessary to cut it into the specific length, diameter, and pattern for its given function. While certain steps might be skipped depending on specifications, every roller’s creation will follow the same general process.
The peeling roller creation process involves nine key steps:
1. Arrival
Raw materials arrive at the roller manufacturer’s site as metal shafts that have been cut to a rough size that will then be cut down further based on roller’s intended function. These shafts can come in tool or stainless steel construction based on customer specification.
2. Machining
Once they’ve arrived, the bare shafts are machined down, cutting off excess material to form the base of the roller and give it its proper cut based on its intended function. In this step, rollers built for older machines can be improved using modern processes to give them better, sharper angles on the teeth than was possible during their original counterparts.
3. Turning
After being machined to the right size, the shaft is then turned using a turning machine or lathe which uses a cutting tool to chip away excess material until the shaft reaches its correct diameter. The turning process ensures that the shaft of the roller fits snugly within the rolling machine’s blocks and bushings so that it can rotate effectively.
4. Hobbing
Once the shaft has reached the proper diameter, it is then placed into a gear hobbing machine to be hobbed. Hobbing cuts splines into the shaft that increase its torque and helps even the load distribution across the roller as it turns, helping the roller create better, fuller cuts.
5. Keying
After hobbing, the shafts then have keyways put into them. Where hobbing increases torque in the roller, mechanical keying helps increase the transmission of torque from the rotating peeler to the shaft.
6. Flatting
Next, the roller has flats installed, thin pressed steel plates which act as linear guides that maintain rigidity and stiffness within the shaft while maintaining a low friction coefficient. Not all rollers require flatting: whether or not a roller requires flats is dependent on its function.
7. Heat Treatment
Whether or not the roller has flats installed, it is then sent to heat treatment. The metal is superheated and then quickly cool, changing its microstructure to make the metal harder and less brittle while simultaneously improving its corrosion resistance.
8. Blasting and Polishing
Finally, after the roller returns from heat treatment, it is sandblasted and polished down, removing any rust and shaping it into its final diameter. At the this point, the roller is ready to be put into production.
9. Shipment
The roller is shipped to the customer, and once received it is ready to be fitted into the plant manager’s existing machines and go to work saving money, providing better yields, and creating a better poultry plant.
For more information about poultry peeling rollers, the many benefits that great rollers can bring to a plant, and how you can find the best rollers (and get the most out of the ones you already have), download our free informative ebook, The Anatomy of a Poultry Peeling Roller.


